This is my ultimate favourite chocolate cake! Super comfort food which would literally cheer me up when I'm down... and makes an event complete... Not difficult to make, but very tricky to cook. Once its overcooked, you get a dry and hard product. Undercook it, you get gooey madness... It has to be just right, to be in the wonderful state of velvety and rich taste, while maintaining a moist and light crumb structure. This recipe, which I received as a subscription to Food Republic won me over... and I have not found anything I like better than this one... (after going through hundreds of similar recipes)... so here it is...
Red Velvet Cake with Cream Cheese Icing
Servings: 10 servings
IngredientsCake:2 1/2 cups cake flour (312.50g)1/2 teaspoon salt2 tablespoons cocoa powder1 stick unsalted butter, room temperature (113.4g)1 cup sugar2 eggs2 teaspoon vanilla extract1 cup buttermilk (or can use 1 cup sour cream)2 tablespoons red food coloring1 teaspoon white vinegar1 teaspoon baking sodaCream Cheese Frosting:1 1/2 sticks unsalted butter, room temperature (170.11g)12 ounces cream cheese, room temperature (340.19g)2 cups powdered sugar, sifted (Add to taste)1 teaspoon vanilla extract1 to 2 tablespoons heavy creamDirections: Cake
- Preheat
oven to 350 degrees F and make sure the rack is in center of oven.
Butter two 9- inch round cake pans and line the bottoms of the pans with
parchment paper. Set aside.
- In a mixing bowl sift the flour, salt and cocoa powder together.
- In
an electric mixer or with a hand held mixer beat the butter until soft.
Then add the sugar and beat until light and fluffy, about 5 minutes.
- Add the eggs, one at a time, mixing after each addition until it is well incorporated.
- Scrape the sides of the mixing bowl and add the vanilla. Beat until combined.
- In
a little bowl combine the buttermilk and red food coloring. With the
mixer on low, alternately add the flour mixture and buttermilk to the
butter mixture.
- In a different bowl combine the vinegar and baking soda. Allow the mixture to fizz and then quickly fold into the cake batter.
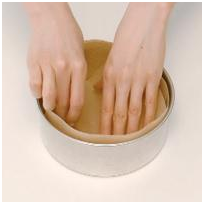
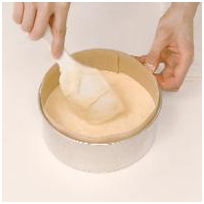
- Divide
the batter evenly between the two prepared pans and smooth the
tops.Bake in the preheated oven for 25-30 minutes, or until a toothpick
or skewer inserted in the center of the cakes comes out clean.
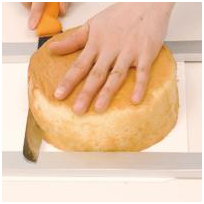
- Cool the cakes in their pans on a wire rack for 10 minutes. Then invert, lifting off the pan.
- Once
they have completely cooled, wrap in plastic and place the cake layers
in the freezer for at least an hour or overnight. This is how the pros
do it. It makes icing and assembling the cake so much easier.
Cream Cheese Frosting
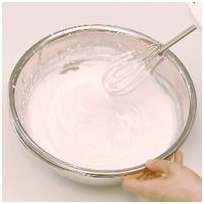
- In the bowl of your electric mixer, or with a hand mixer, beat the butter and cream cheese until smooth.
- Add the vanilla and confectioners sugar and beat until smooth.
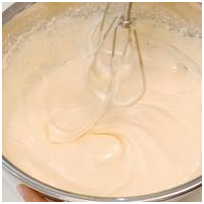
- Using
the whisk attachment, gradually add the heavy cream and whip until the
frosting is thick enough to spread. Add more cream as needed to get the
right consistency.
Assembly
- With
a long serrated knife cut each cake layer in half, horizontally. You'll
now have four cake layers. Place one layer, top of the cake facing
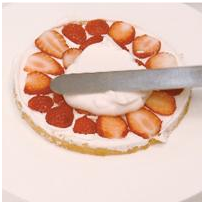
down, onto your serving platter. Spread the cake layer with frosting.
- Place
another layer of cake on top of the frosting and continue to frost and
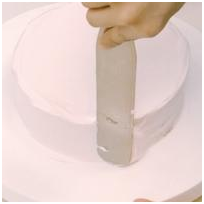
stack the cake layers. Frost the top and sides of the cake.
Source: http://www.foodrepublic.com/2011/07/25/red-velvet-cake-cream-cheese-icing


 *
*